Wildlife in the Attic or Eaves
CLICK HERE for a print-friendly PDF and photos!
Situation:
You have an animal living in the attic, walls or the eaves of your home or business. The Wildlife Rehabiliation Center at the Wisconsin Humane Society can help! Follow the tips below for safe and humane ways of removing or coexisting with wildlife in your life.
Why This Happens:
Wild animals survive by constantly searching for and utilizing the resources they find in their environment. They interpret a loose or missing fascia board on your home’s overhang or a hole caused by water damage in the side of your house as a “Welcome” sign. They are not aware that they are trespassing; they only know that there is an entry hole that lets them get into a relatively warm, dark, safe and quiet place; out of the elements and safe from potential predators.
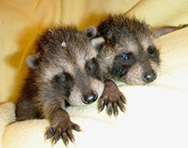
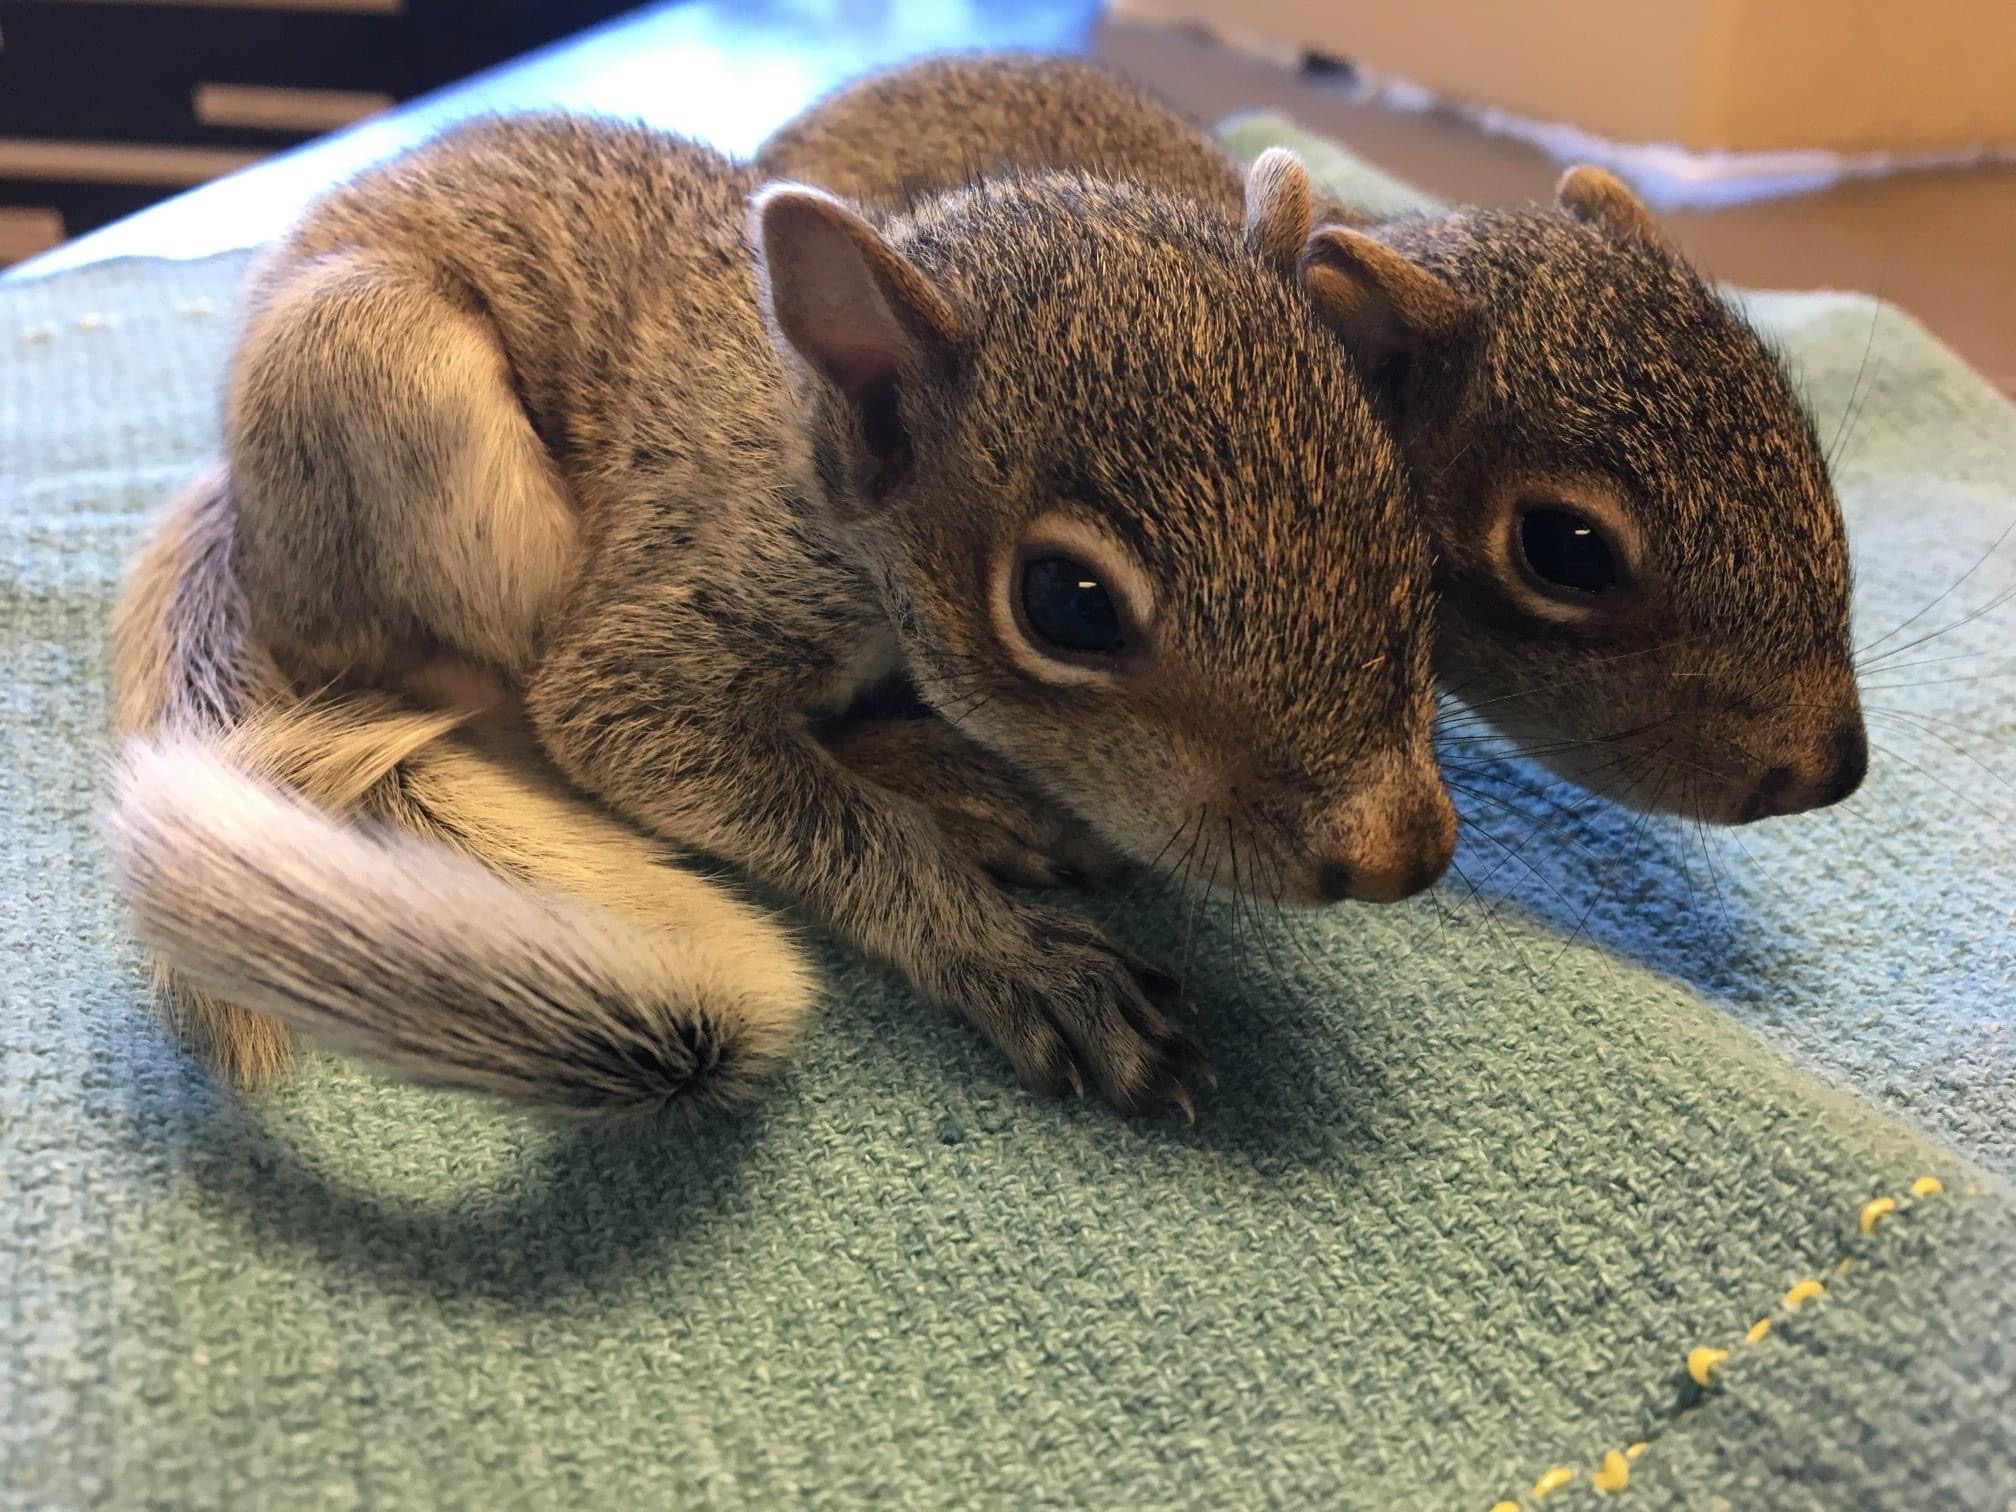
Animals like Gray Squirrels and Raccoons usually gain access through holes in loose, missing, or rotten soffit, fascia, or roof boards. If these areas are not already rotted through, they may scratch or gnaw the rest of the way through -- this rot is often the result of previous water or ice damage. Animals also enter through attic vents of various types. Squirrels may gnaw through wooden vent covers, and raccoons may tear open the vent cover to get inside. Trees with trunks or branches that are close (within 6-10 feet) to your structure often serve as a ready means of access for these animals to climb up to your attic or eaves. Or, an animal may climb up a downspout or a brick wall or chimney to get access to vulnerable parts of your home.
FAQs & Humane Solutions:
“I have an animal in my attic. Will you come out here and remove it, or can I rent a live-trap from you so I can trap it myself?”
No. We have a much better solution to offer: Experience with thousands of such situations over many decades has shown us that the self-help techniques we describe below are much more humane than trapping and relocating an animal, provide a more ecologically-sound solution than relocation, and are more likely to provide you with a lasting solution at far less expense than removal/relocation.
“I have an animal in my attic. What can I do to get it to leave?”
Hazing - You can do what we call “hazing” to get the animal to leave. Hazing involves temporarily converting that dark, safe, quiet wildlife haven inside your attic or eaves into a bright, noisy, smelly area in which the animal no longer feels comfortable or safe. The supplies that will be needed are: a bright light such as a mechanic's trouble light or a floodlight, a portable radio, and either a commercial non-toxic animal repellent spray or granules such as Critter Ridder®, Expel®, or Repels-All®, or rags drenched in household ammonia.
IMPORTANT: In cases where there may be baby animals present, we recommend that if possible, you wait until the young are old enough to leave the nesting area before you start hazing. There is a small chance that the hazing could get a mother animal to abandon her young or mistakenly not take all of her young when she moves out. And birds cannot move their eggs or young to a new location, so you should not use hazing techniques on birds during their nesting season. Use of hazing techniques may cause a parent bird(s) to abandon nestlings, which is inhumane and in the case of native migratory birds, may be against state and federal laws. In southern Wisconsin, Gray Squirrels may have young as early as March and as late as September. Raccoons may have young as early as April and as late as September.
Hazing Technique - Set up the light inside the structure, ideally about five feet away from the entrance hole, and turn it on, shining toward the entrance. Caution: keep power cords away from the entrance itself or the animal may gnaw on the cord! Make sure the light cannot tip over and that it is not hot enough or close enough to anything flammable that it could start a fire! If possible, place the radio within several feet of the animal's “den” or about five feet away from the entrance hole, again, inside the attic. Tune the radio to a talk station or a rock-and-roll station and have it on a moderately-loud volume. If possible, place rags drenched in household ammonia or commercial non-toxic animal repellent just inside the animal’s entrance hole. The animal might leave the first night you do this, but you’ll probably need to keep this up for three days in a row, or perhaps longer. You can turn the radio off or turn the volume down periodically if the noise gets to be too much for you or your neighbors. The ammonia on the rags will evaporate, so you’ll need to re-wet them with fresh ammonia once or twice a day.
Note: hazing works best in relatively small areas such as the attic of a small house. In a very large area, such as the attic of an apartment building, the animal may simply avoid the hazing techniques by moving its activity away from the hazing to another part of the attic. In this case, you’ll need to introduce enough light and noise to make the entire area uninhabitable.
“Once I have done the hazing, how do I know if the animal is gone?”
To determine if the animal is gone, loosely crumple newspaper into a ball and place it in the animal’s entry hole into the attic or eave. If the newspaper is not disturbed after three days, the animal MAY have moved out. However, this method is only reliable if there is no other place that the animal can get into the attic or eave.
Caution: Be very careful using this technique to detect animal activity during the late fall, winter, and early spring. Some animals hibernate and others greatly reduce their activity and “hole-up” in a safe, relatively warm place for days or even weeks at a time when it is very cold or when there is deep snow. Do not do permanent repairs or install an animal-proof barrier (more about this below) until you are SURE that no animals will be trapped inside!
Another option for checking to see if the animal has left is a “trail camera.” These highly weather-resistant digital cameras automatically take a photo(s) or a clip of digital video when something passes in front of the camera. These cameras are sold at sporting goods stores and online. The camera should be placed so that the “shutter” will be triggered by an animal going in or out of the opening in the structure.
“Once the animal has left, how can I prevent it or another animal from getting back inside?”
You are right, once this animal leaves and the hazing stops, if you don’t “animal-proof” the area you are very likely to have another animal eventually move in. By “animal-proofing,” we mean installing a barrier that animals cannot chew through, pull apart, dig under, or climb over. Welded wire mesh, hardware cloth, or chicken wire are usually good choices for this, since they are strong, long-lasting, easy to work with, are relatively inexpensive and, except for welded wire mesh, are readily available at most hardware stores and home improvement centers. Welded wire mesh can be a little more challenging to find, but it is available from some farm and ranch supply stores, fencing retailers, and online. If you are shopping for welded wire mesh, look for 1” x 1” or 1” x ½” galvanized mesh made with 16 gauge wire.
Materials you will need:
- Galvanized hardware cloth, or welded wire mesh, or chicken wire
- Screws – we like 1 ¼” galvanized pan-head lath screws, but deck screws should also work
- Fender washers – we like 1” diameter washers with a 3/16” hole
Tools you will need:
- Safety glasses
- Leather gloves – to protect your hands from possibly sharp metal edges
- Cordless or corded drill/screwdriver with appropriate bit for driving the screws you will be using
- Wire cutter, or sheet metal cutting shears (the latter works well for hardware cloth)
- Optional – for large jobs, you may want to rent an electric sheet-metal and wire-mesh cutting shears. Or for cutting welded wire mesh, use an electric reciprocating saw with a metal-cutting blade to speed-up the mesh-cutting process.
Instructions:
- Cut the mesh to fit. Measure the width and length of the piece(s) of mesh you’ll need. Make the piece of mesh a few inches in each direction larger than the hole. Cut the piece and fit it into place. Trim and/or bend the piece as needed until it fits properly.
- Install the wire mesh. Use the drill/driver to install the mesh to the structure over the hole or the repaired area using the lath screws and fender washers. To do this, hold the mesh in place and drive the screw through a washer and the mesh to anchor the mesh to the structure. Use as many screws and washers as are needed to securely hold the mesh in place.
- Animal-proof other possible entry points. With the entry hole gone, animals may look for other weak points on your structure that they can use to get inside. These weak points are often areas of water-damaged or rotted wood, loose trim boards or siding, and flimsy or missing vent covers. Proactively install wire mesh over these areas to keep animals from gnawing through or tearing open these weakened spots. Pay careful attention to corners – anywhere that two walls or panels meet -- such as under overhangs, outside corners of the fascia, where gables meet the roofline, etc.
IMPORTANT: Don’t trim branches or trunk-wrap a tree with sheet metal during the nesting season, which for some animals, like Gray Squirrels, can run from April through September, unless you are sure there are no baby animals inside your home! Trimming branches could prevent a mother animal from getting back to and caring for her young. Of course, this would be inhumane and could result in the deaths of the babies, leaving you with the unpleasantness of having dead animals in your attic or eaves.
“I’ve heard that a one-way door can be used to let an animal living in an attic, eave, or wall get out but not get back in. Can I use this to get the squirrels out of my attic?”
One-way doors, especially when put in place a couple of days after hazing techniques (see above) have begun, can be helpful. But one must be very careful when using these devices to make sure that a mother animal is not prevented from getting to her babies. And if installed without concurrently using hazing techniques and proactively applying animal-proofing on other vulnerable areas of the structure, can lead to an animal getting back into the structure through a different weak spot.

 The Wildlife Rehabilitation Center is always looking for safe places to release hand-raised orphaned Cottontails, Raccoons, Opossums, Gray Squirrels and Mallards. Can you help?
.png)

